
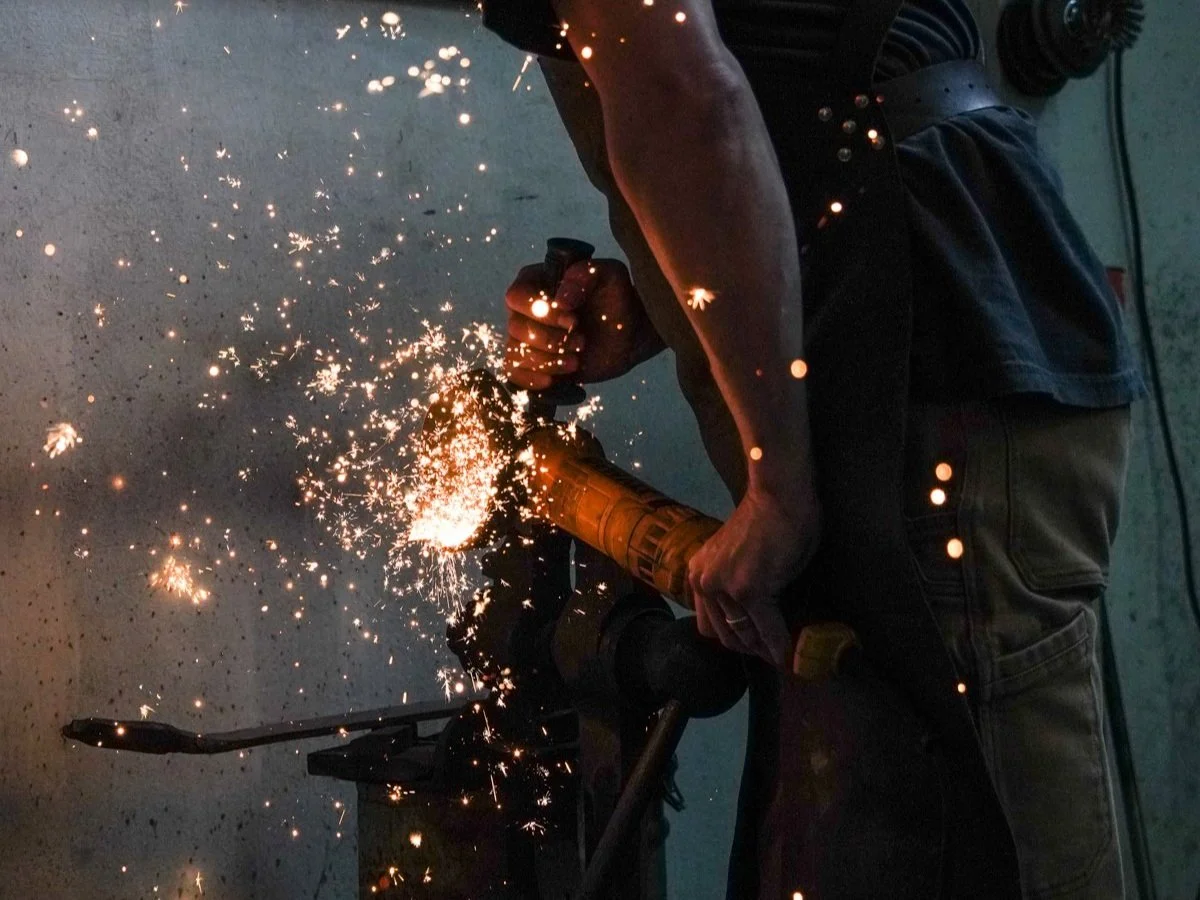
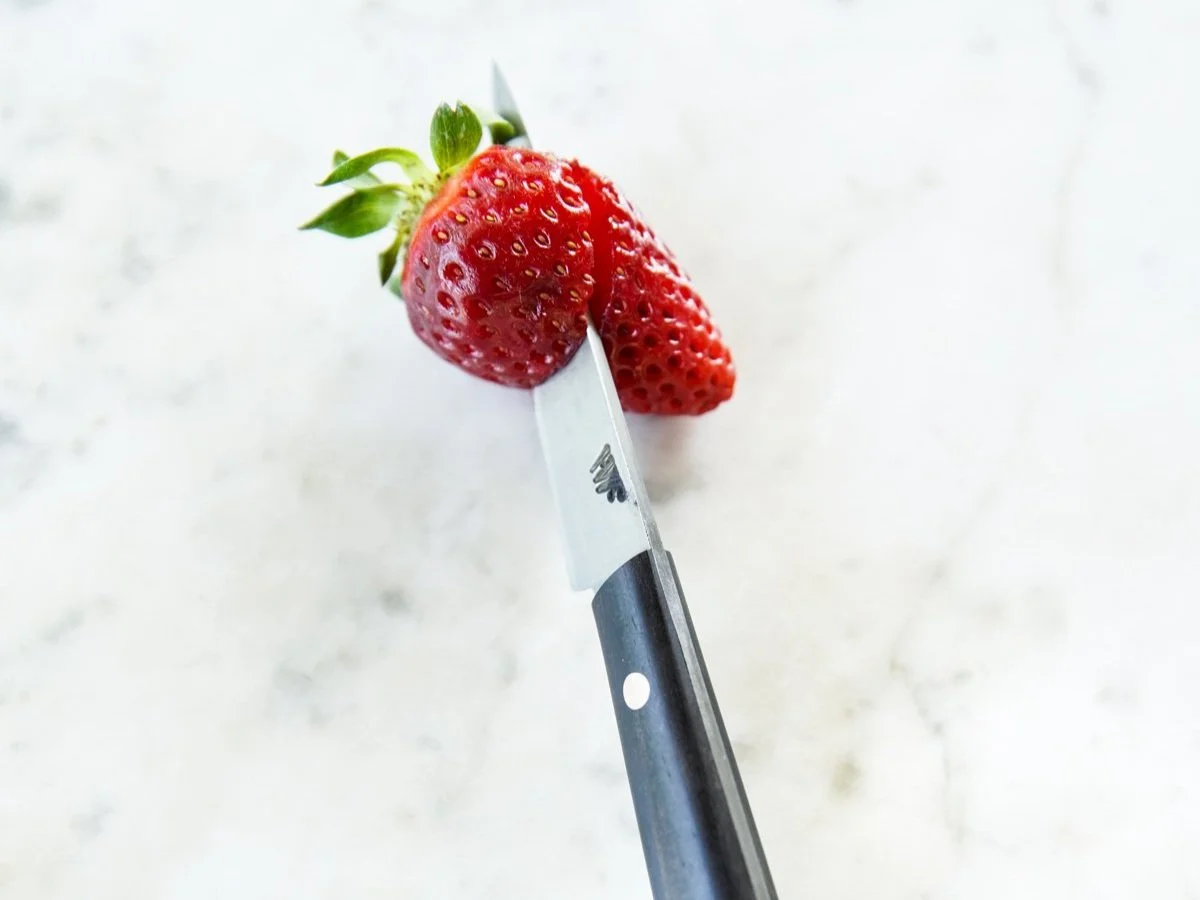
LEARN TO SHARPEN YOUR KNIFE
All knives dull overtime. Even if you clean and store your knife properly and hone it regularly, it will still eventually need to be sharpened. Keeping your blade sharp will increase both enjoyment and safety. Learning to maintain the edge of your blade is a satisfying and useful skill. You will need to invest some time and practice, but it will pay off each time you get to work in the kitchen.
This guide isn’t meant to be the end-all be-all of sharpening instructions—this is very much “Will’s way,” that I’ve arrived at over the years through learning, guidance from experts, and… cutting myself. There are many guides and approaches out there, and I’m sure my technique will continue to evolve over time. But for now, I thought this would be a helpful guide for those interested in learning how I get my knives sharp and giving it a try for themselves.
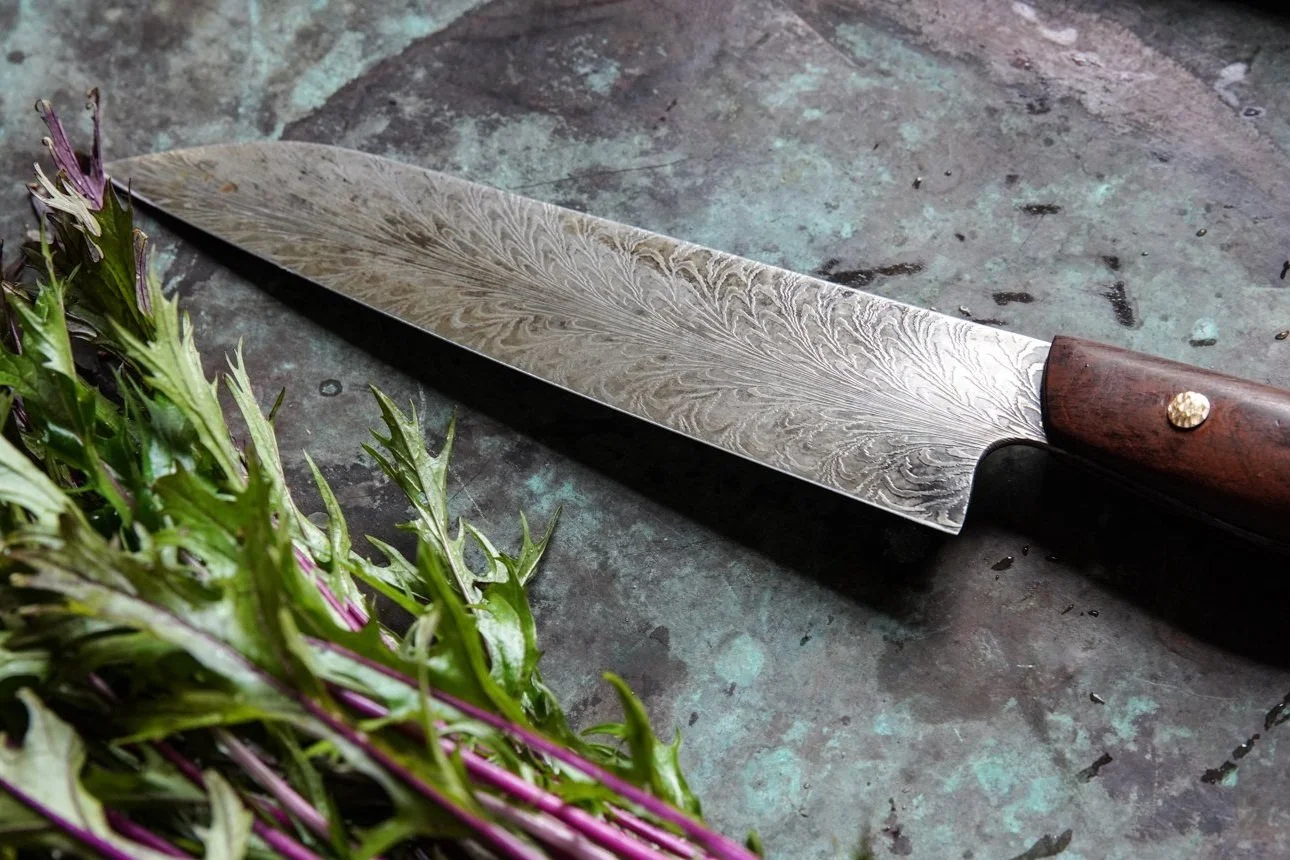
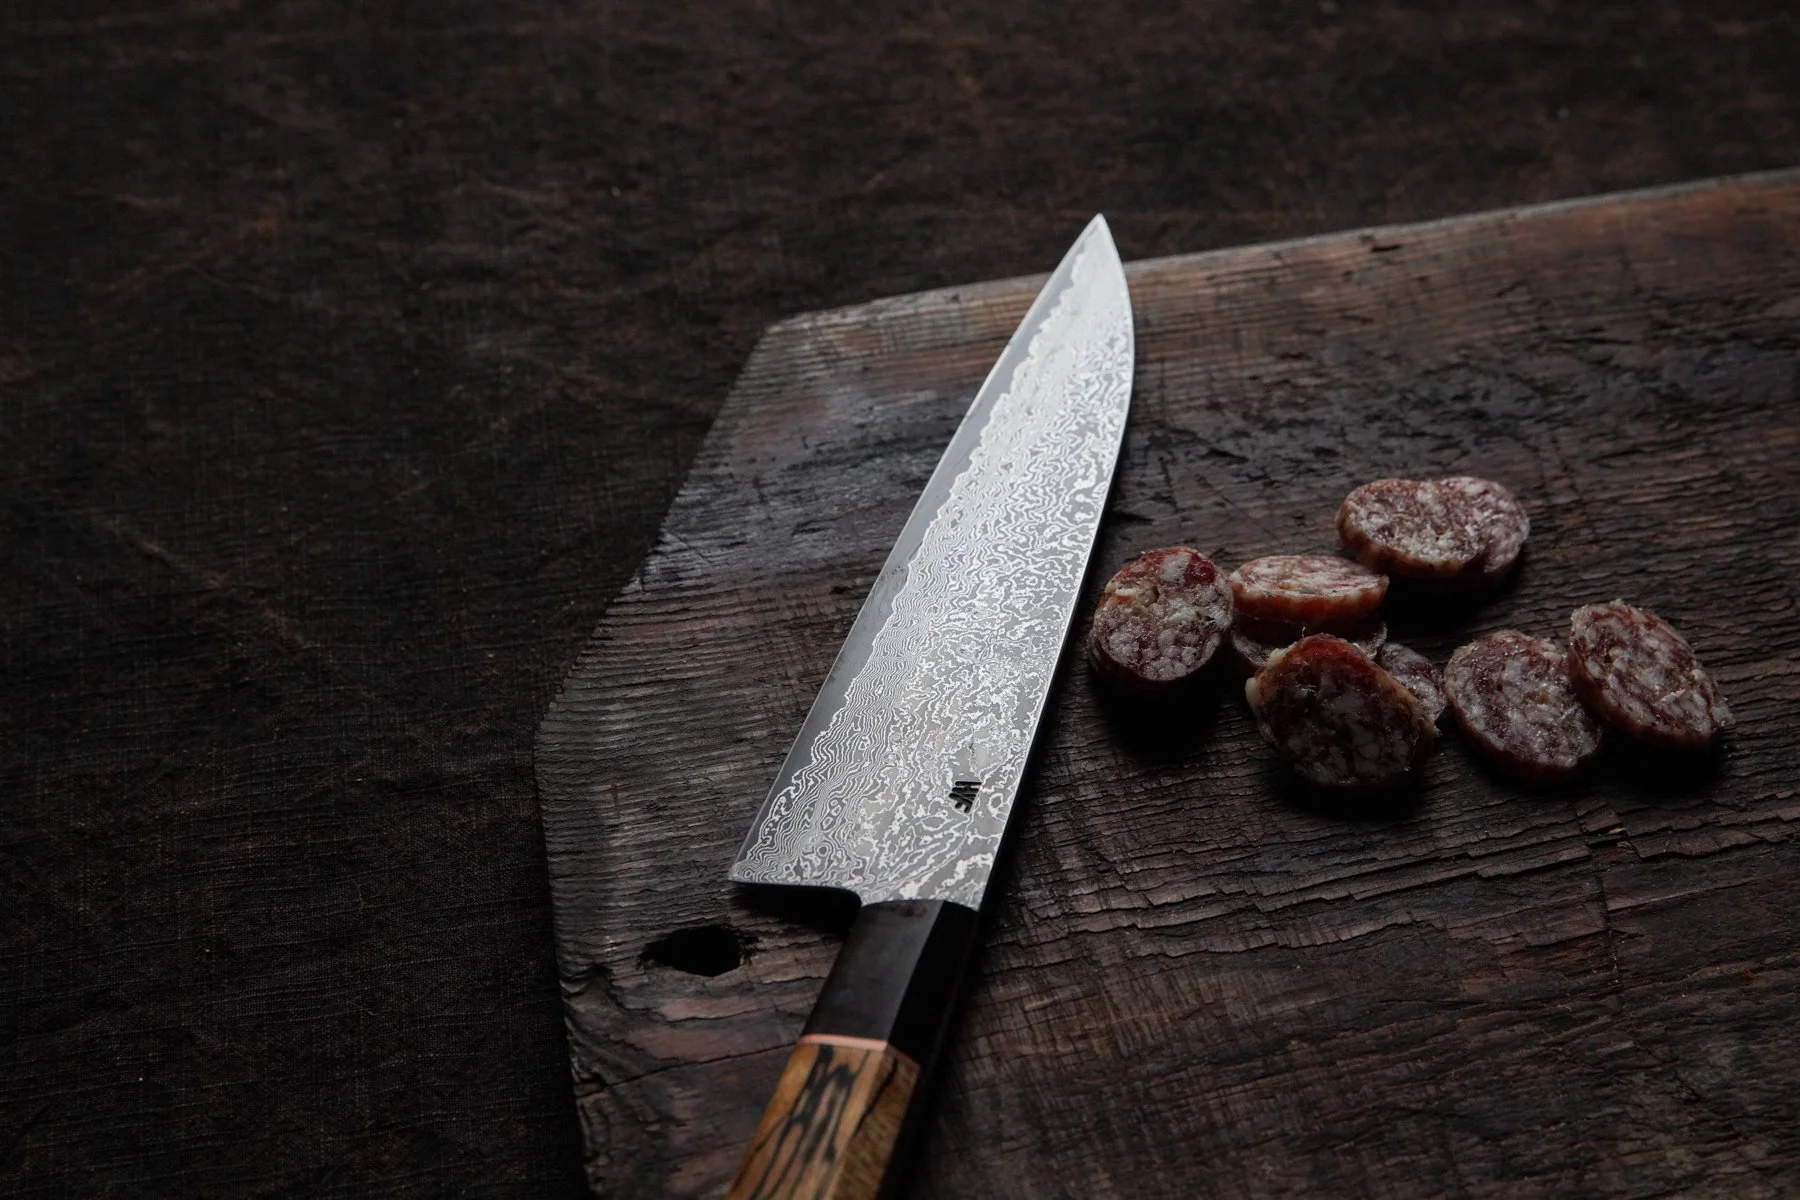
What is “sharp?” The sharpness of a knife is an opinion and depends on how it’s used, the blade’s steel, how it was hardened, how thick or thin it is, etc., etc. Generally, I like to have a working edge on my knives, sharp enough to confidently prepare a meal.
I prefer to use whetstones, also known as water stones, to sharpen my knives. It is an ancient Japanese technique that uses multiple stones with ascending grits (coarse to smooth) until you reach the desired edge for your blade. The stones are soaked in water before use, hence the name. I recommend having two or three different grits. In between sharpenings you can maintain your knife’s edge by honing your knife regularly with a quality ceramic honing rod. Develop the habit of making a few passes on it before each use of your knife.
GRITS N’ GRAVY
The lowest grit stone in my setup is in the 220 range. This very coarse stone is used for establishing the edge. Very rarely it’s needed for major repairs. It’s not necessary to have this stone to sharpen your knife at home but if you significantly ding your knife’s edge, the roughness of this stone will help you work it out faster.
For the medium grit, I like a stone in the 800-1200 range. It may seem like a big jump from the 220, but it’s a good surface to begin giving your blade the edge it needs.
The last stone I use on the blade is a 3k–6k grit stone. There are stones with much higher grits, but I find that this range gives me a great working edge.
STROP IT
The final step is using a strop (a piece of leather on a rigid base) and green honing compound (which is applied to the surface of the leather). This final pass is used to polish the edge and remove any burrs left by the stones.
ACCESSORIZE
It’s helpful to have a stone holder or base to stabilize the stones as you’re using them, but you can also get away with using a damp towel to keep your stone from sliding around and to soak up the slurry from the stones. Over time, your whetstones will begin to wear in the middle. Keeping your whetstones flat is helpful in keeping your edges true. You can buy an assortment of lapping stones or diamond plates for this. Draw a diagonal grid on the surface of your cupped stone with a pencil and flatten until the marks are gone.
Combo stones are a great starting point if you are building a set up for the first time. They are two sided stones—one side medium and the other a high grit. I keep a Cerax Combo (1k/3k) stone under my sink for the occasional touch up when I don’t want to run down the hill to my shop. And as I’ve mentioned, daily use of a quality ceramic honing rod does wonders.

ANGLE
I like to find the angle of the edge by starting at what I think is the correct angle and making a single gentle pass on the stone. It will be between 15-20 degrees (per side) for most chef knives, 20-25 degrees for cleavers and 10-15 degrees for slicers. Remember what that angle feels like in your wrists and fingers. Now look at the edge, using the new scratch marks from the stone as registration marks—where do the marks land in relation to the current edge? Change the angle of the blade up or down so that your stone and the current edge are more in line with each other. If the registration marks (scratches) are below the current line of the secondary bevel, lower the knife enough to meet the edge. If they go past the current edge onto the blade face, raise it slightly. If you’re having a difficult time seeing your registration marks, try using a marker to color the edge before swiping on the stone—this will help you see where you’re at.
STROKE
To maximize the life of your stones, do your best to utilize the whole surface of the stone instead of just sharpening on the middle of the block. I like to start with the stone perpendicular to my shoulders. With the spine facing away from you, hold the knife’s handle in your left hand and brace the blade with the fingers of your right (hands can be switched depending on what you’re comfortable with).
Keeping the knife at the angle you’ve established, place the tip of the knife on the bottom corner of the stone on the side of the hand you’re holding the knife in, and make an even and smooth stroke across the stone so that the heel of the blade ends up on the top corner of the same side. Bring the knife back across the same way, so the tip is back at the bottom of the whetstone. The edge of the blade should smoothly maintain contact all the way across the stone.
It’s important that the position of the blade and your hands, as well as the angle of the blade to the stone, all remain the same as you bring the knife back and forth across the stone. Flip the knife over so the spine faces you and repeat the process. It will begin to feel more natural the more you do it. Relax and don’t apply much pressure. Listen to the sound of the knife as it crosses the stone—try to keep the sound consistent from tip to heel.
SHARPENING
When repairing an edge or working with a very dull knife, start with your lowest grit stone (220).
Applying a gentle but firm pressure, begin by making 5 strokes with the spine facing away from you, flip the knife over and make 5 strokes with the spine facing towards you. Counting as you go, make 4 strokes on each side, then 3, 2, and finally 1 stroke on each side. Lighten your pressure as you count down. When you reach 1—one stroke on each side—the pressure you should be applying is the weight of the blade against the stone.
Feel for a fine and consistent burr down the entire edge (you can carefully use your fingernail, or a piece of cardboard—listen for catches and feel for uneven areas). If you see or feel a problem area, focus on the area and then do the count down again. This will help center your edge and keep things straight and even.
Once you’ve achieved a consistent edge on the lower grit stone, move to the medium grit stone (800-1200—you can start on this grit if it’s routine resharpening). Remember to rinse your knife thoroughly before switching, so that the different grits don’t transfer from stone to stone. Once again, count down from about 5 strokes on each side of the blade, again reducing pressure (erring on the lighter side) as you go.
On the final and highest grit stone (3k+), make only a few light stropping passes, passing the blade along the stone’s surface with almost zero pressure on each side, alternating sides between every stroke.
The blade is now ready for final stropping to remove any burrs from the edge. Make a few stropping passes on the leather strop with slight to very light pressure on each side, alternating sides between every stroke.
Gently clean, rinse and dry your knife. Rinse and air dry your whetstones and store them (you want them to be good and dry before you put them away, or store the stones in a spot with good air circulation).
Enjoy using your newly sharpened knife. And if you feel like you didn’t get it perfect the first time through, remember it takes practice, so don’t give up!